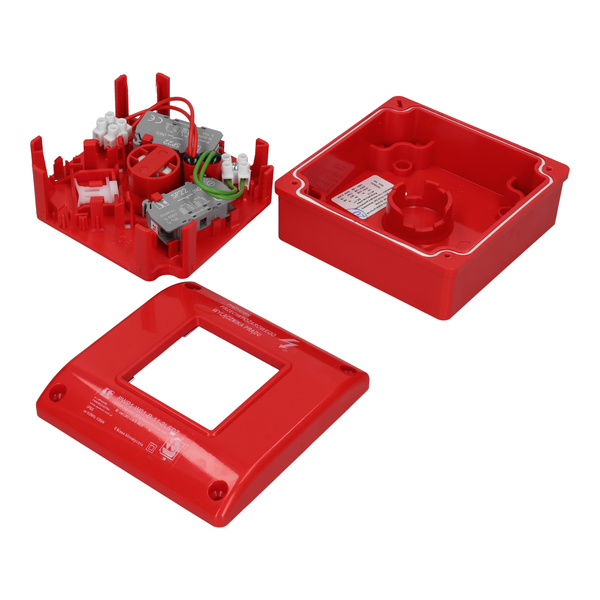
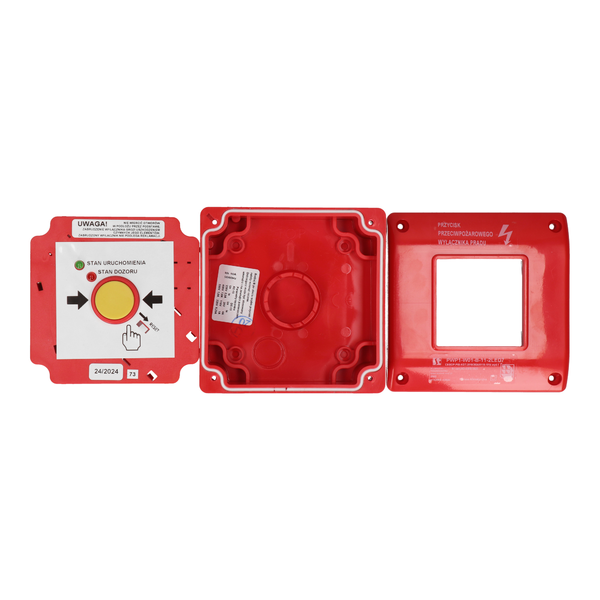
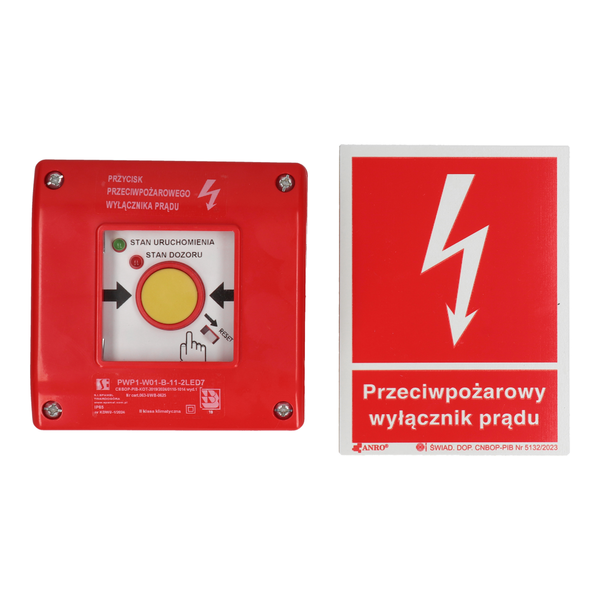
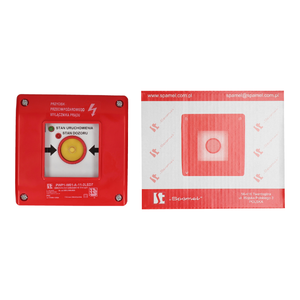
Ręczny przycisk przeciwpożarowego wyłącznika prądu PWP1 z certyfikatem, urządzenie uruchamiająco-sygnalizujące
Przeciwpożarowe wyłączniki prądu
PWP1-#-#-#-##
EAN:
Examples of markings:
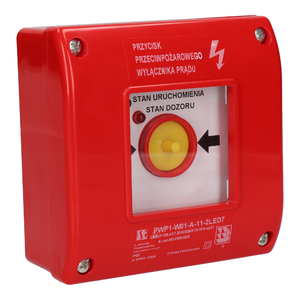
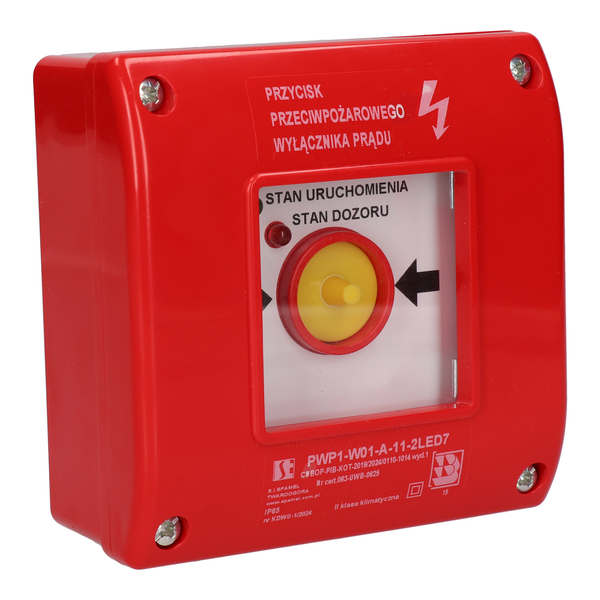
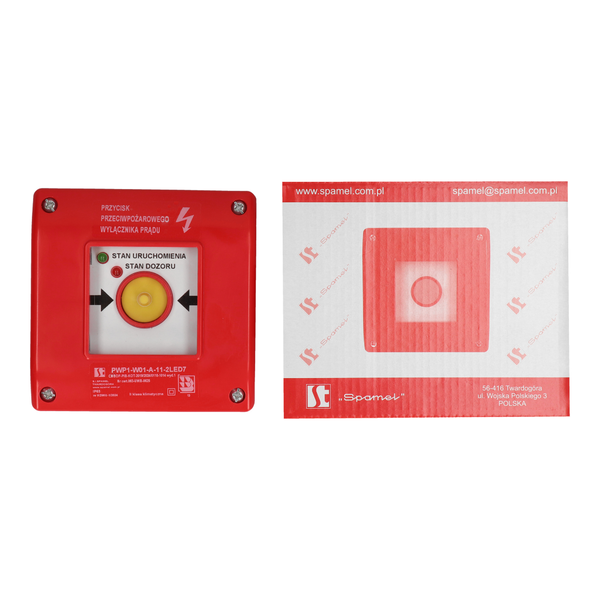
1. PWP1-W01-A-11-2LED7-surface mounted version with 1 NO switch and 1 NC switch, 230V green led/230V red led. After breaking the glass, the button is released automatically.
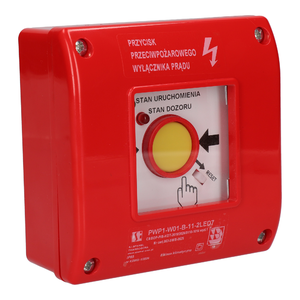
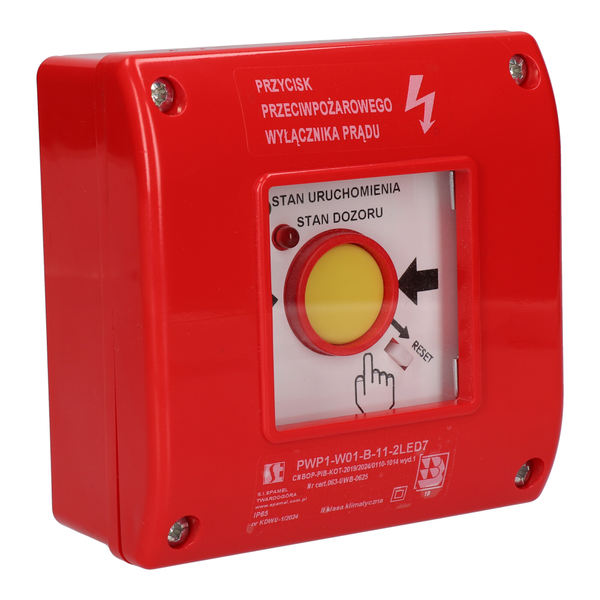
2. PWP1-W01-B-11-2LED7-surface mounted version with 1 NO switch and 1 NC switch, 230V green led/230V red led. After breaking the glass, the button must be pressed manually.
The manual button activates the "Fire switch", which will disconnect the building's power supply from the electricity source during a fire and a rescue operation. The fire switch which cuts off the power supply to all circuits, with the exception of the circuits supplying the systems and equipment, the operation of which is necessary during fire, should be used in fire zones with a volume exceeding 1000 m³ or including zones endangered with explosion.
The fire switch should be located near the main entrance to the facility or a connector and properly marked. Cutting off the power supply with a fire switch may not automatically switch on the second source of electric energy, including the generating set. The exception is the sources of power supplying electrical devices that must function in the event of a fire.
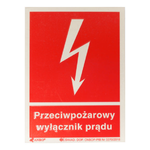
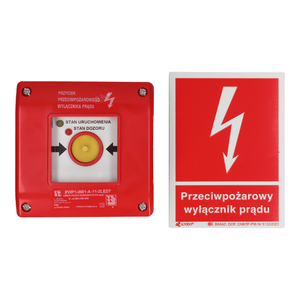
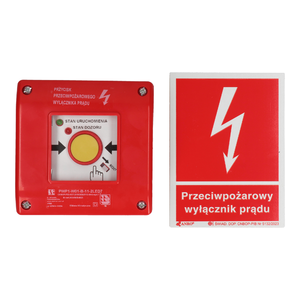
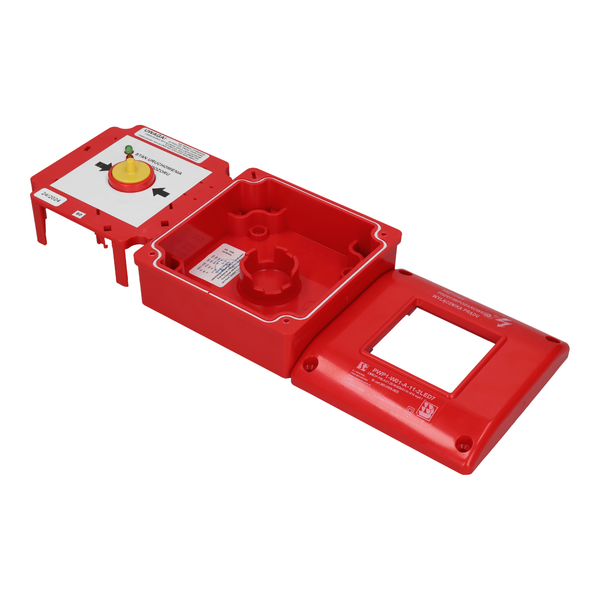
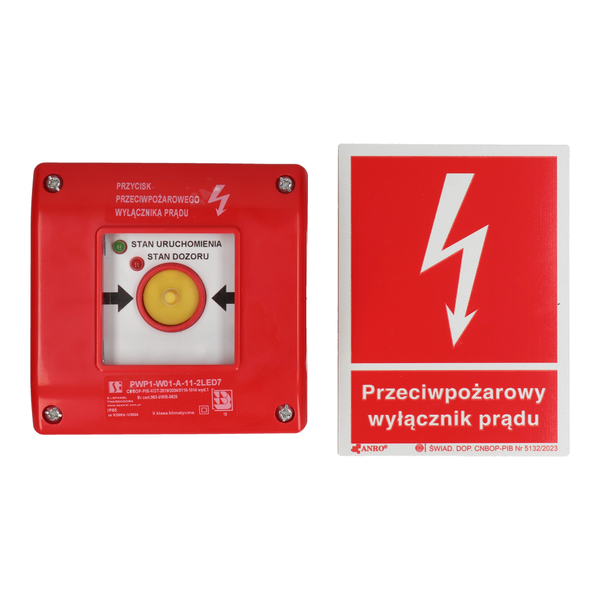
The PWP1 manual start button can be used as a "fire switch" provided that a label is placed above it: “Fire switch”. The set includes a self-adhesive label: "Fire switch".
The manual PWP1 start button with double LED signaling provides information about:
1. Green diode–activation status
2. Red diode–supervision status
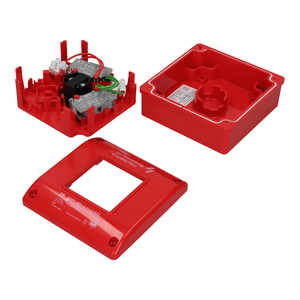
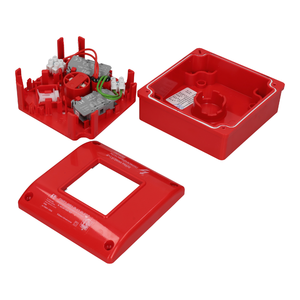
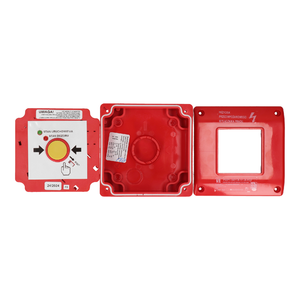
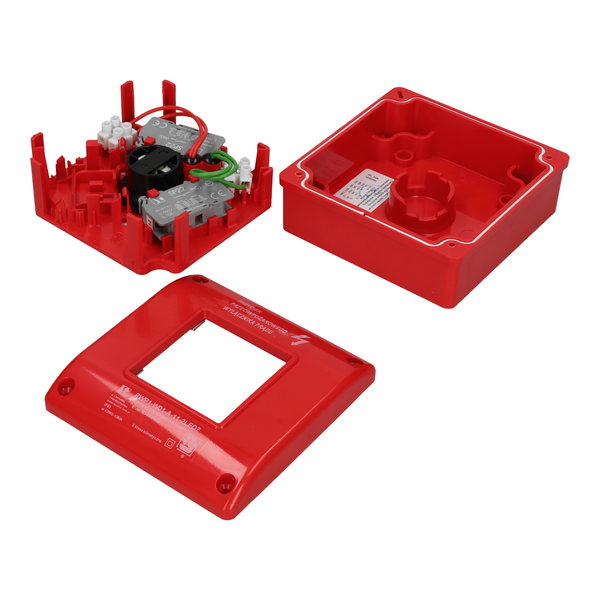
The LEDs are terminated with a terminal block. The red led should be on when the switch is on, when the glass is broken, the red led should go out, and the green led should be on, which informs that the power in the building is disconnected. The green led should be powered from a separate power source, preferably from a switch.
The minimum number of wires needed to connect the switch:
Version of the switch with 2 LEDs:
1. 2leads+3contacts-minimum 6 wires
2 .2leads+2contacts-minimum 5 wires
3 .2leds+1contact-minimum 4 wires
National Technical Assessment CNBOP-PIB-no. CNBOP-PIB-KOT-2019/0110-1014 edition 2
National Certificate of Constancy of Performance No. 063-UWB-0625
When selecting current paths, the selected type (A or B) should be taken into account
TYP A
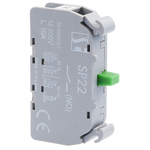
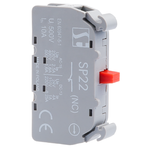
NO contacts (10, 20, 30): after breaking the glass or removing the cover, the contacts open.
NC contacts (01.02.03): after breaking the glass or removing the cover, the contacts close.
Mixed NC/NO contacts (11,12,21): after breaking the glass, the NO contacts will open and the NC contacts will close.
TYP B
NO contacts (10, 20, 30): after breaking the glass or removing the cover, the button must be pressed manually - the contacts close.
NC contacts (01,02,03): after breaking the glass or removing the cover, the button must be pressed manually - the contacts will open.
Mixed NC/NO contacts (11,12,21): after pressing the button, the NO contacts will close and the NC contacts will open.
| Rated insulation voltage Ui | 500 V |
| Rated continuous current Iu=Ith | 10 A |
| Rated operational current Ie for AC-15 | 2.5 A (230 V) 1.6 A (400/500 V) |
| Rated operational current Ie for AC-13 | 4 A (24 V) 1 A (110 V) 0.25 A (220 V) |
| Degree of protection | IP65 |
| Wire gauge | 1...2.5 mm² (solid) 0.75...1.5 mm² (stranded) |
| Ambient temperature | -25 ... +70°C (work) -25 ... +70°C (storage) |
| Climate class | II |
| Compliance with the standard | PN-EN 60947-5-1 IEC 60947-5-1 IEC 60947-1 PN-EN 60529:2003 PN-EN 60068-2-1:2009 PN-EN 60068-2-2:2009 PN-EN 60068-2-6:2008 PN-EN 60068-2-42:2004 PN-EN 60068-2-75:2015 PN-EN 60068-2-78:2013 PN-EN 50130-4:2002+A1:2015 PN-EN 61000-4-2:2009 PN-EN 61000-4- 3:2007+A1:2008+A2:2011 PN-EN 61000-4-4:2013 PN-EN 61000-4-5:2014 PN-EN 61000-4-6:2014 |
| 24 | green 24V AC/DC |
| 230 | green 230V AC |
| 2LED7 | C230VAC+Z230VAC |
| 2LED8 | C230VAC+Z24VDC |
| 2LED9 | C230VAC+ZP24VDC |
| 2LED10 | C24VDC+Z230VAC |
| 2LED11 | C24VDC+Z24VDC |
| 2LED12 | C24VDC+ZP24VDC |
| 2LED13 | CP24VDC+Z230VAC |
| 2LED14 | CP24VDC+Z24VDC |
| 2LED15 | CP24VDC+ZP24VDC |

_300.png)
_300.png)
_300.png)

.png)
.png)
.png)
